If you own a Peloton bike and find that the bike does not feel right and that the resistance settings are no longer comfortable, then there may be a calibration issue. Let’s go through the steps on how to do this.
To calibrate a Peloton, go to the “about” section of the menu and tap multiple times on the top right side of the box. Follow the prompts. During the calibration, place the wedge and white discs on the flywheel and resistance knob, then follow the directions. After setup, clear the data and cache.
Besides learning how to calibrate your Peloton correctly, we’ll discuss what signs you should be looking out for if you need to get a Peloton technician involved.
How To Calibrate A Peloton Bike
Calibrating your bike is simple enough for most cases, and there are a few simple steps that you have to work through. Once calibrated, the bike will be set up to your fitness levels.
However, in some situations, you will need a technician to come out and calibrate the magnets that sit next to the flywheel providing resistance.
Before we dive into how to calibrate your Peloton, you will first need to make sure that you do not need a technician to come out and calibrate the bike.
How To Check If Your Peloton Needs A Technician

To check if the magnets are set correctly in terms of where they lay with the flywheel, you will first need to remove the piece of plastic that sits atop the flywheel that holds the water bottles. This will require the use of a screwdriver and perhaps a plastic pry tool if the section seems to be stuck.
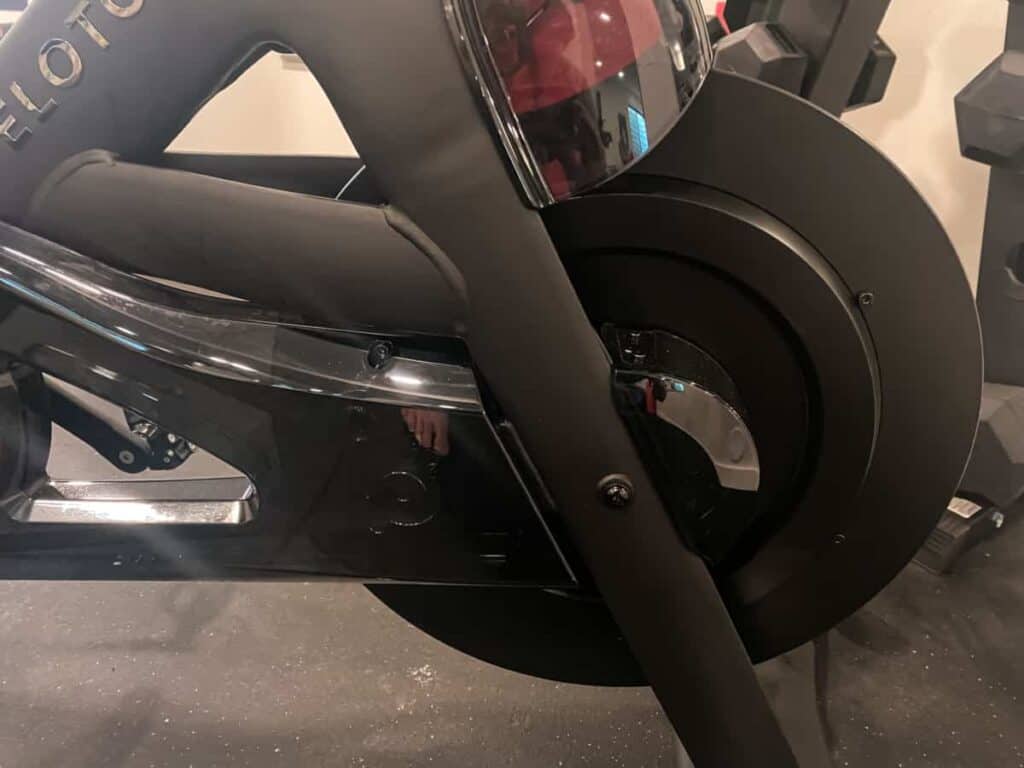
Once it has been removed, you will have access to the flywheel and have visuals of the magnets that allow the bike to have resistance.
The magnets will be located within the two brackets (orange or red) on each side of the flywheel. Take note that there are three magnets for each bracket. Also, note that the brackets do not move inwards or outwards, causing resistance. They move from the top (above the flywheel) to below (all the magnets on the flywheel).
Hence don’t be alarmed if your magnets are not moving from side to side when you adjust the resistance. This is because they don’t work like that.
You need to ensure the brackets and magnets are uniform. This means that they are the same distance apart from the flywheel and that they are lined up with each other.
If this is not the case, you will need a technician to come out and calibrate your Peloton.
What Do You Need To Calibrate Your Peloton
If you find that everything is in order regarding the brackets and magnets, you are able to calibrate the Peloton yourself.
The only accessories you will need to calibrate your bike are the wedge and two small white discs you will receive that ship with the bike.
Step-By-Step Peloton Calibration Tutorial
Here is a step-by-step tutorial on how to calibrate your Peloton. Take note that this technique is not suitable for the Peloton bike+.
- First, you will adjust the tension knob.
- then you will raise the black sleeve underneath the knob and insert the larger disc
- You will then rotate the larger disc till it sets itself into place on the bolt below. The disc should now be locked into place
- Next, you will again raise the black sleeve underneath the resistance knob, inserting the smaller disc. Take note that the smaller disc will need to be pushed in with a bit of force because its interior diameter is somewhat smaller than the resistance knob’s pole.
- Push the smaller disc into place. You will hear a click when it is appropriately secure.
- You will now notice that if you turn the resistance knob, the top disc turns with it while the larger bottom disc does not
- Next, you will line up the discs together. Each disk has four notches/markings/grooves that need to align with one another. During the process of calibration, when prompted to turn the resistance a 1/4 of a turn, you will turn the resistance knob from one marking on the disc to the next.
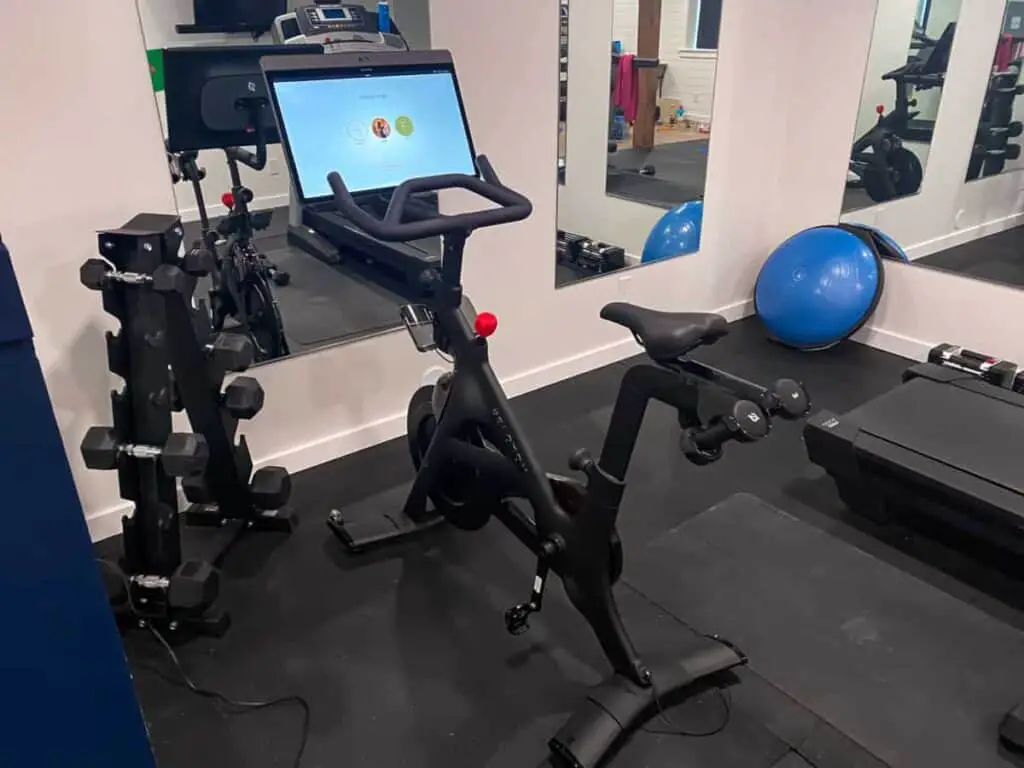
- The following step is to start the calibration using the Peloton screen.
- Start by opening up the “about” section on your Peloton bike
- To do this, tap the three icons at the bottom right-hand corner of the screen.
- Select the “about” section
- Now, repeatedly tap the top right-hand corner of the popup box with one finger. This will launch the calibration settings
- Tap the get started button
- You will now be taken through a series of steps that will help you calibrate your Peloton. Remember that a quarter turn is from one groove of the smaller disc to the next of the larger
- By doing this, your maximum and minimum resistance settings will be calibrated correctly
- You will be prompted to insert the wedge at this point
- Place the wedge between the magnets of the flywheel.
- Loosen the resistance of the magnets until the wedge slides easily yet firmly into place. Then gently tighten the resistance knob till you feel pressure on the wedge
- Head back to the calibration screen and continue the setup. This is the point where you will be prompted to turn the resistance knobs 1/4 of a turn.
- Follow the setup turning the resistance knobs as many times as needed to
- Now your calibration is complete, but you will need to reset your bike
- Head to “device settings” and then “apps” from the home screen using the three dots icon
- Select “storage”
- Clear both the “data” and the “cache.”
- Finally, shut down the bike and unplug it for 30 seconds
You are now done with your calibration. Take note that the Peloton bike is factory-calibrated, and there should be no need for you to calibrate it when you receive it.
The only time you may need to calibrate it is perhaps if you have moved and the bike doesn’t quite feel the same. However, there is typically no need to calibrate the bike yourself.
How To Calibrate A Peloton Bike+
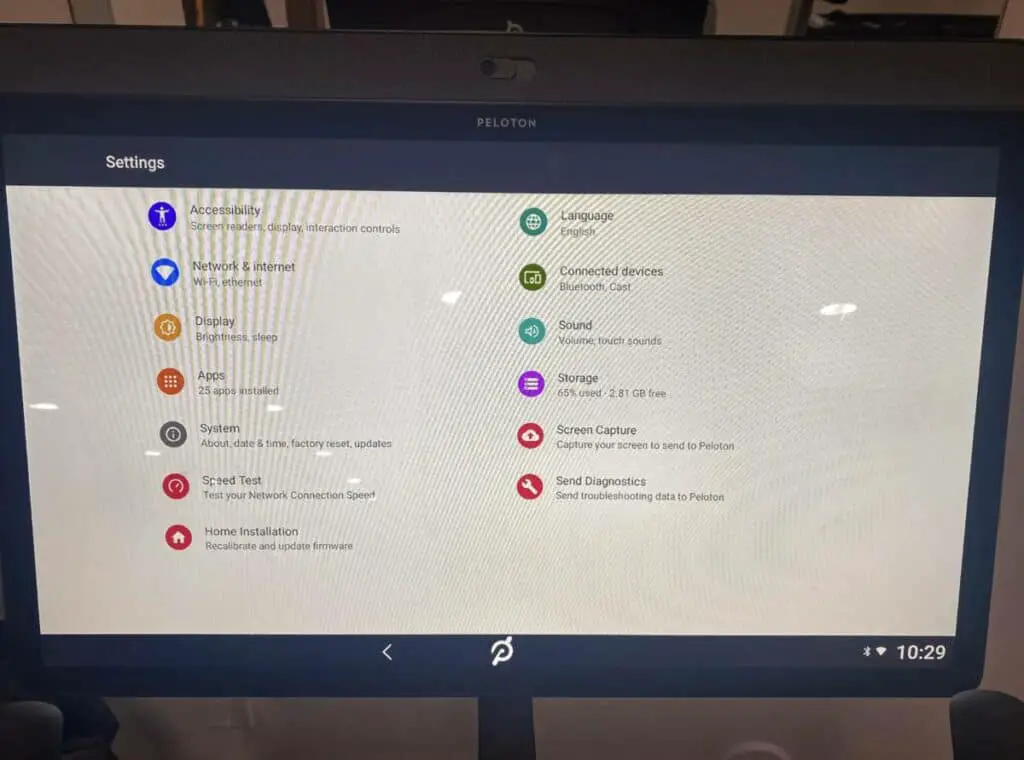
Calibrating a Peloton bike+ is very simple and nothing like the standard bike. To calibrate the Peloton bike+, all you will need to do is go to “device settings” from the options menu, located at the bottom right corner of the touchscreen.
At the bottom of the “device settings” menu, you will see an icon that says “home installation.”. At this point, it is important to make sure that you are not on the bike for the calibration test.
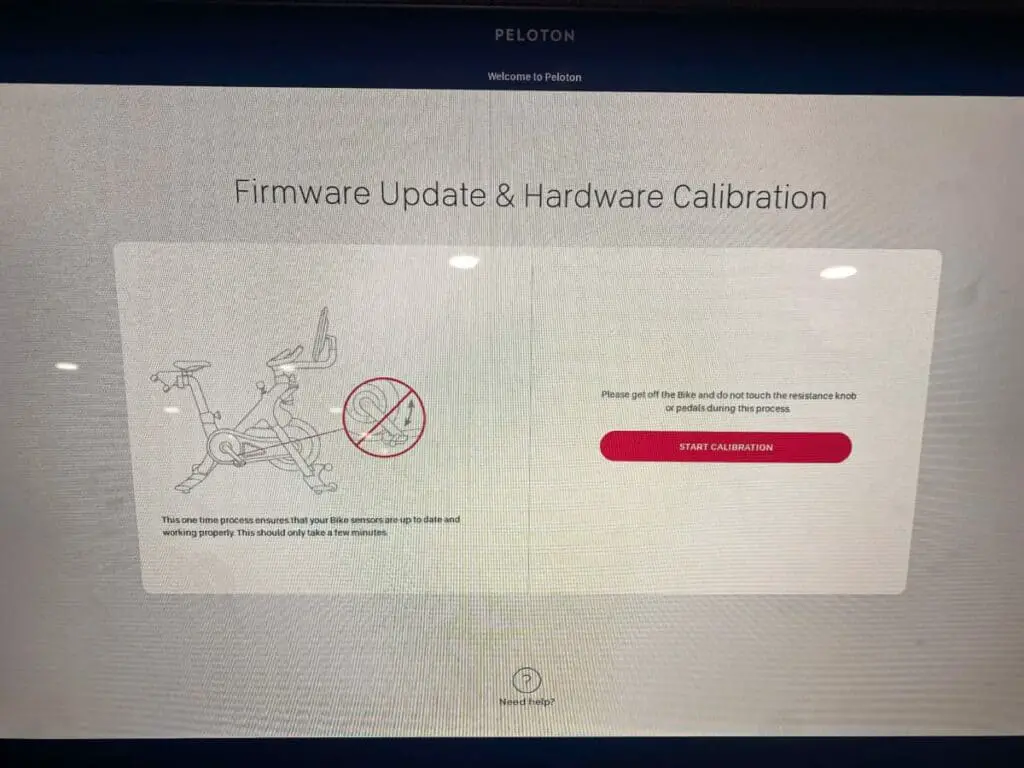
Now following the prompts, begin to calibrate your Peloton bike+.
For The Visual Learners!
Here is a video of how to calibrate both the Pelton bike and bike+!
Conclusion
Calibrating your Peloton is not that difficult a task, but it does need a bit of finesse. You will also need to follow the instructions methodically, or you could end up throwing the bike out of sync.
If you are unsure about calibrating your bike, we recommend that you call out a Peloton technician. Lastly, remember that the bike is factory-calibrated, and there is no need to recalibrate it. Hence before you do, call up Peloton to get some advice.